Shiny Input
The idea in this example is not to just reproduce the functionalities of a shiny application with ambiorix but also to do so using the same technology: websockets, even though one may not want to go about it this way in ambiorix.
Shiny
library(shiny)
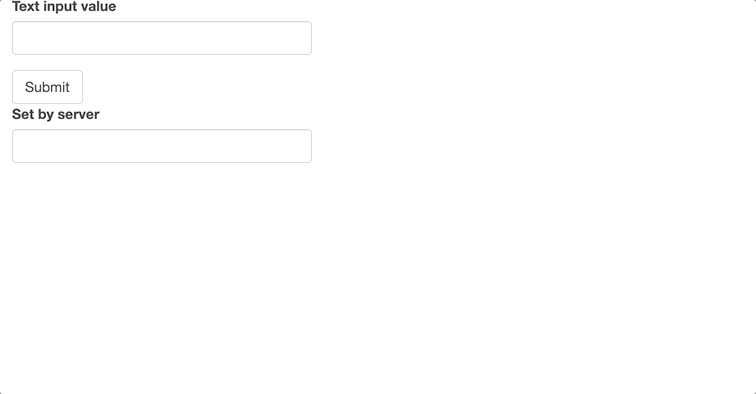
ui <- fluidPage(
textInput("inp", "Text input value"),
actionButton("submit", "Submit"),
textInput("out", "Set by server")
)
server <- function(input, output, session){
observeEvent(input$submit, {
updateTextInput(session, "out", value = input$inp)
})
}
shinyApp(ui, server)
Here we build a shiny application that takes a text input, upon clicking a button sends that value to the server which uses it to update another text input.
Ambiorix
The easiest way to setup the structure for this application (with websocket support) is to use the CLI or ambiorix.generator::create_basic() from the ambiorix.generator package.
The server only responds to one request to the homepage (/) to which it sends an HTML file we shall cover next. The server also listens to websocket messages named textValue which it sends back as another message with a different name: setTextValue.
library(ambiorix)

app <- Ambiorix$new()

# serve static files
app$static("assets", "static")

# homepage
app$get("/", \(req, res){
  res$send_file("templates/home.html")
})

# websocket
app$receive("textValue", \(msg, ws){
  ws$send("setTextValue", msg)
})

app$start()
In the HTML we use ambiorix' websocket library to listen to messages named setTextValue sent from the server and use it to set the input value of text input name2.
We also have a sendValue() function on a submit button to collect the value of the first input and send it to ambiorix' server.
<!DOCTYPE html>
<html lang="en">
<head>
  <meta charset="UTF-8">
  <meta name="viewport" content="width=device-width, initial-scale=1.0">
  <link rel="stylesheet" href="static/style.css">
  <script src="static/ambiorix.js"></script>
  <script>
    var wss = new Ambiorix();
    wss.receive("setTextValue", function(msg){
      document.getElementById('name2').value = msg;
    });
    wss.start();
  </script>
  <title>Ambiorix</title>
</head>
<body>
  <h1 class="brand">Ambiorix</h1>
  <label for="name">Give the text input value</label>
  <input type="text" id="name" name="name">
  <button onclick="sendValue();">Send a message</button>
  <br>
  <br>
  <br>
  <label for="name">Text input below is set by server</label>
  <input type="text" id="name2" name="name2">
  <script>
    sendValue = function(){
      let val = document.getElementById('name').value;
      Ambiorix.send('textValue', val)
    }
  </script>
</body>
</html>
